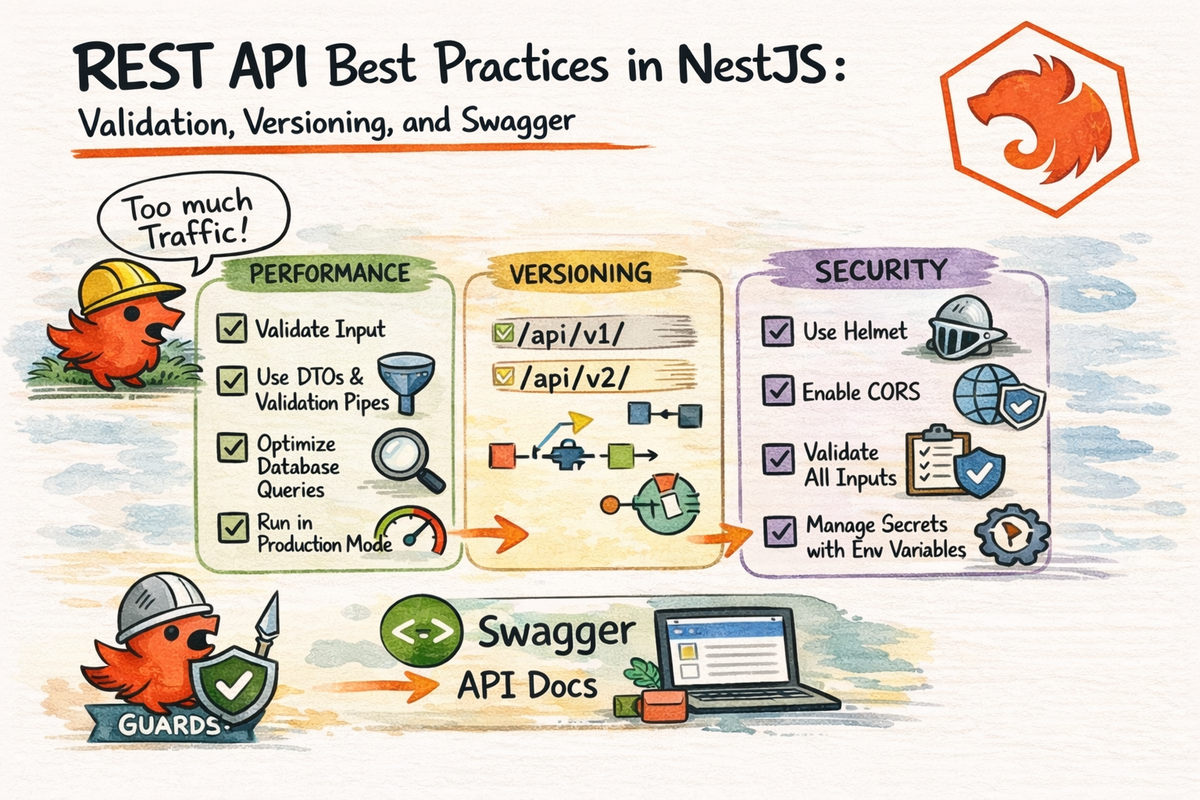
REST API Best Practices in NestJS: Validation, Versioning, and Swagger
In the last article, we built a real REST API in NestJS.
Which is great.
But there is a big difference between:
- an API that works
- and an API that feels clean, safe, and maintainable
That difference usually shows up in the details.
Things like:
- how you validate input
- how you evolve the API over time
- how you document it for yourself and other developers
This is where a beginner project starts feeling a little more professional.
In this article, we are going to look at three important upgrades:
- validation
- versioning
- Swagger documentation
By the end, you will understand:
- how to make validation more reliable and less messy
- how API versioning works in NestJS
- how to generate and improve Swagger docs
- why these three habits make a huge difference in real projects
Let’s turn your API from “it runs” into “this actually looks solid.”
Why These Three Best Practices Matter
A lot of beginner APIs start out like this:
- they accept almost anything
- they change routes whenever the developer feels like it
- they have no documentation except “just read the code”
That works for about five minutes.
Then the project grows.
Or another developer joins.
Or the frontend starts depending on your API.
Or you come back in two months and wonder why past-you made such bold and mysterious choices.
This is why validation, versioning, and documentation matter.
They help your API become:
- more predictable
- easier to evolve
- easier to debug
- easier to consume
- easier to trust
And honestly, that is what good API design is really about.
Part 1: Better Validation in NestJS
Nest’s validation docs still recommend using ValidationPipe together with DTO classes and decorators from class-validator as the standard validation approach. They also document useful configuration options like whitelist, forbidNonWhitelisted, and transform.
We already introduced validation in the previous article.
Now let’s talk about what good validation setup looks like.
Use ValidationPipe Globally
This is one of the simplest and best upgrades you can make.
In main.ts:
import { NestFactory } from '@nestjs/core';
import { ValidationPipe } from '@nestjs/common';
import { AppModule } from './app.module';

async function bootstrap() {
  const app = await NestFactory.create(AppModule);

  app.useGlobalPipes(
    new ValidationPipe({
      whitelist: true,
      forbidNonWhitelisted: true,
      transform: true,
    }),
  );

  await app.listen(3000);
}
bootstrap();
Why these options?
whitelist: true
Nest’s docs say this strips properties that do not have decorators in the DTO.
That means if someone sends extra fields you did not define, they do not quietly slip through.
forbidNonWhitelisted: true
Instead of silently removing unknown fields, this throws an error when they appear. Nest documents it as the stricter option when you want to reject rather than strip.
This is often a really good choice for APIs because it makes invalid requests more obvious.
transform: true
Nest’s docs explain that transformation helps convert incoming values into the types expected by your DTOs or method signatures, which matters because request bodies and params arrive as plain data.
Very useful for:
- numeric IDs
- query parameters
- typed DTO values
So yes, this global setup is one of the best “small changes, big payoff” moves in NestJS.
Keep Validation Rules in DTOs
A good API keeps validation rules close to the input contract.
That means your DTOs should describe:
- required fields
- allowed formats
- minimum lengths
- optional fields
- numeric constraints
Example:
import { IsEmail, IsNotEmpty, IsOptional, IsString, MinLength } from 'class-validator';

export class CreateUserDto {
  @IsString()
  @IsNotEmpty()
  @MinLength(2)
  name: string;

  @IsEmail()
  email: string;

  @IsString()
  @MinLength(8)
  password: string;

  @IsOptional()
  @IsString()
  bio?: string;
}
This is much better than sprinkling validation checks manually across controllers.
Nest’s validation guide is built around this pattern: DTO classes hold the rules, and ValidationPipe enforces them.
That is clean and reusable.
Validate Route Params and Query Params Too
A lot of beginners validate request bodies and then forget everything else.
But route params and query values need love too.
Nest’s pipes docs still show built-in transformation pipes like ParseIntPipe for route params.
Example:
@Get(':id')
findOne(@Param('id', ParseIntPipe) id: number) {
  return this.usersService.findOne(id);
}
This prevents values like /users/abc from getting treated like valid numeric IDs.
For query parameters, DTOs plus transformation are often the cleanest approach.
Example:
import { IsInt, IsOptional, Min } from 'class-validator';
import { Type } from 'class-transformer';

export class ListUsersQueryDto {
  @IsOptional()
  @Type(() => Number)
  @IsInt()
  @Min(1)
  page?: number;
}
That gives your API much more predictable behavior.
Use Validation to Protect Your API Contract
A DTO is more than “just a TypeScript class.”
It is part of the API contract.
It tells consumers:
- what the API expects
- what shape is allowed
- what is invalid
That matters.
Because once frontend apps, mobile apps, or other services depend on your API, random input handling becomes expensive.
Validation is not just about catching bad data.
It is about protecting a clear contract.
That is a much more useful way to think about it.
Part 2: Versioning Your API in NestJS
Sooner or later, your API changes.
Maybe:
- a field gets renamed
- a response format improves
- a route changes behavior
- a better design replaces an older one
The problem is this:
if clients already depend on the current API, changing it carelessly can break them
This is why versioning exists.
Nest’s versioning docs still say HTTP applications can support multiple versions of controllers or routes inside one app, and Nest provides several strategies such as URI, header, media type, and custom versioning.
Why API Versioning Matters
Versioning helps you evolve your API without breaking existing consumers immediately.
That means:
- old clients can keep working
- new clients can use improved behavior
- changes become safer to roll out
- your API design has room to grow
This becomes more important the moment your API stops being “just for you.”
And that usually happens faster than people expect.
The Easiest Starting Point: URI Versioning
Nest supports several versioning strategies, but URI versioning is the easiest one for beginners to understand and spot in a browser or API client. The docs still show VersioningType.URI as a standard option.
In main.ts:
import { NestFactory } from '@nestjs/core';
import { VersioningType, ValidationPipe } from '@nestjs/common';
import { AppModule } from './app.module';

async function bootstrap() {
  const app = await NestFactory.create(AppModule);

  app.useGlobalPipes(
    new ValidationPipe({
      whitelist: true,
      forbidNonWhitelisted: true,
      transform: true,
    }),
  );

  app.enableVersioning({
    type: VersioningType.URI,
  });

  await app.listen(3000);
}
bootstrap();
Now routes can look like:
/v1/users
/v2/users
That is easy to understand and very visible.
Great beginner choice.
Versioning a Controller
Nest lets you version whole controllers with the version option in the @Controller() decorator. The versioning docs still document this controller-level approach.
Example:
import { Controller, Get } from '@nestjs/common';

@Controller({
  path: 'users',
  version: '1',
})
export class UsersV1Controller {
  @Get()
  findAll() {
    return [{ id: 1, name: 'Alice' }];
  }
}
Then maybe a v2 version later:
import { Controller, Get } from '@nestjs/common';

@Controller({
  path: 'users',
  version: '2',
})
export class UsersV2Controller {
  @Get()
  findAll() {
    return [
      {
        id: 1,
        fullName: 'Alice Smith',
        email: 'alice@example.com',
      },
    ];
  }
}
Now both versions can exist at the same time.
That is very useful when your API evolves.
When You Actually Need Versioning
Not every tiny demo API needs versioning immediately.
But it becomes a smart move when:
- your API has real consumers
- response shapes may change
- you are improving route behavior
- backward compatibility matters
- multiple clients depend on different contracts
So the rule is not:
“Version everything on day one no matter what.”
It is:
“Know how to version before changes become painful.”
That is the healthier mindset.
Part 3: Swagger and OpenAPI in NestJS
Documentation is one of those things people say they will add “later.”
That is usually adorable and unrealistic.
Nest’s OpenAPI docs still use @nestjs/swagger together with SwaggerModule and DocumentBuilder to generate docs from your application metadata.
And honestly, adding Swagger early is one of the best moves you can make.
Why?
Because it gives you:
- interactive docs
- clear route visibility
- request/response examples
- better team communication
- easier testing during development
Very high value for relatively low effort.
Basic Swagger Setup
Install the package:
npm install @nestjs/swaggerThen in main.ts:
import { NestFactory } from '@nestjs/core';
import { ValidationPipe, VersioningType } from '@nestjs/common';
import { SwaggerModule, DocumentBuilder } from '@nestjs/swagger';
import { AppModule } from './app.module';

async function bootstrap() {
  const app = await NestFactory.create(AppModule);

  app.useGlobalPipes(
    new ValidationPipe({
      whitelist: true,
      forbidNonWhitelisted: true,
      transform: true,
    }),
  );

  app.enableVersioning({
    type: VersioningType.URI,
  });

  const config = new DocumentBuilder()
    .setTitle('Users API')
    .setDescription('A beginner-friendly NestJS REST API')
    .setVersion('1.0')
    .build();

  const document = SwaggerModule.createDocument(app, config);
  SwaggerModule.setup('docs', app, document);

  await app.listen(3000);
}
bootstrap();
Now your docs are available at:
http://localhost:3000/docsThat is still the standard Swagger setup path in the current Nest docs.
Make Swagger Docs Better with Decorators
Swagger can auto-detect a lot, but you can make the docs much better with explicit decorators.
Nest’s OpenAPI docs still recommend decorators like @ApiTags(), @ApiOperation(), @ApiResponse(), and @ApiProperty() to improve generated documentation.
Example DTO
import { ApiProperty } from '@nestjs/swagger';
import { IsEmail, IsNotEmpty, IsString, MinLength } from 'class-validator';

export class CreateUserDto {
  @ApiProperty({ example: 'Ziye' })
  @IsString()
  @IsNotEmpty()
  name: string;

  @ApiProperty({ example: 'ziye@example.com' })
  @IsEmail()
  email: string;

  @ApiProperty({ example: 'supersecret123' })
  @IsString()
  @MinLength(8)
  password: string;
}
Example Controller
import { Body, Controller, Get, Post } from '@nestjs/common';
import { ApiOperation, ApiResponse, ApiTags } from '@nestjs/swagger';
import { CreateUserDto } from './dto/create-user.dto';

@ApiTags('users')
@Controller({
  path: 'users',
  version: '1',
})
export class UsersController {
  @Get()
  @ApiOperation({ summary: 'Get all users' })
  @ApiResponse({ status: 200, description: 'List of users returned successfully' })
  findAll() {
    return [];
  }

  @Post()
  @ApiOperation({ summary: 'Create a user' })
  @ApiResponse({ status: 201, description: 'User created successfully' })
  create(@Body() body: CreateUserDto) {
    return body;
  }
}
This makes the docs much nicer for real use.
And nicer docs are not just about appearance.
They reduce confusion.
A lot.
Why Swagger Matters Even for Small Teams
Some people think Swagger only matters in giant companies.
Not true.
It is useful whenever:
- frontend and backend work together
- multiple developers touch the same API
- you want to test endpoints quickly
- you want a visible source of truth for routes
Even if the team is just:
- you
- current you
- future you
That is still enough reason.
Future you deserves better than “just inspect the controller files.”
How These Three Practices Work Together
This is the nice part.
These three best practices support each other really well.
Validation
Makes input safe and predictable.
Versioning
Makes API evolution safer.
Swagger
Makes the API understandable and easier to use.
So together, they turn a basic API into something much closer to production-ready habits.
Not perfect.
Not magically enterprise.
Just much more responsible.
And that is a big upgrade.
Common Beginner Mistakes
Let’s save a few future headaches.
1. Using DTOs but forgetting global ValidationPipe
Then validation rules do not reliably apply where you expect.
2. Accepting extra fields silently
Use whitelist and think seriously about forbidNonWhitelisted. Nest documents both options because they are very useful in real APIs.
3. Waiting too long to think about versioning
You do not need it immediately, but you do need awareness before breaking changes appear.
4. Generating Swagger docs but never improving them
Auto-generated docs are fine.
Decorated, explicit docs are better.
5. Treating documentation like a side quest
Documentation is part of the product.
Not an afterthought.
6. Assuming a working API is automatically a clean API
That is the trap this whole article is trying to help you avoid.
A Good Mental Model to Remember
If you want one super simple summary:
- validation protects your input contract
- versioning protects your future changes
- Swagger protects developer clarity
That is the trio.
And if you build those habits early, your APIs become much easier to live with later.
Which is a very underrated skill.
Why This Chapter Matters
This article matters because it is where your API starts to feel more like something other people can safely use.
A beginner API usually focuses on:
- routes
- CRUD
- “it works”
A better API also thinks about:
- input safety
- long-term evolution
- documentation quality
That is a big shift.
And it is one of the first steps from “learning the framework” toward “building software that ages well.”
Very worth it.
Final Thoughts
A working REST API is a good start.
A well-validated, version-aware, documented API is a much better one.
Nest’s current docs continue to provide first-class support for all three of these areas:
ValidationPipefor safe input handling,- built-in versioning for controlled API evolution,
- and
@nestjs/swaggerfor OpenAPI docs generation.
So the next time you build an endpoint, try not to stop at:
“It returns JSON.”
Push one step further:
- validate the input well
- think about future versions
- make the docs usable
That is how APIs stop being fragile and start being trustworthy.
And now that your REST API story is in good shape, the next step is exploring a different style of API entirely:
Because once you understand REST well, GraphQL becomes much easier to evaluate without getting distracted by hype.
Real Interview Questions
What is the best validation setup for a NestJS REST API?
A common strong starting point is a global ValidationPipe with whitelist, forbidNonWhitelisted, and transform enabled, plus DTO classes using class-validator decorators. Nest’s validation docs still present this as the standard approach.
Does NestJS support API versioning?
Yes. Nest supports multiple HTTP versioning strategies, including URI-based versioning, which is often the easiest for beginners to start with.
How do I add Swagger to a NestJS app?
Use @nestjs/swagger with SwaggerModule and DocumentBuilder in main.ts, then expose the docs at a route like /docs.
Should I use Swagger in a small NestJS project?
Usually yes. It improves clarity, testing, and collaboration even in small teams.
When do I actually need API versioning?
You need it when your API has real consumers and backward compatibility starts to matter. It is often less urgent in tiny demos, but very important once clients depend on your routes and response shapes.